3ds Max Exporter to Postshot for Gaussian Splatting models
Gaussian Splatting allows high quality and performant 3d experiences for the web – both for scanned objects and 3d models.
You can just render your images from a 3d software like 3ds max and import them into Jawset Postshot – with this workflow postshot has to estimate all cameras which not only takes additional time but the alignment of cameras will be estimated and herefore be less accurate.
The maxscript based tool for 3ds Max provides a solution to create a camera animation, export camera positions as a .csv (comma seperated value) and a .ply for the initial point cloud (ply is old and flexible, but postshot just wants point coordinates and vertex color data).
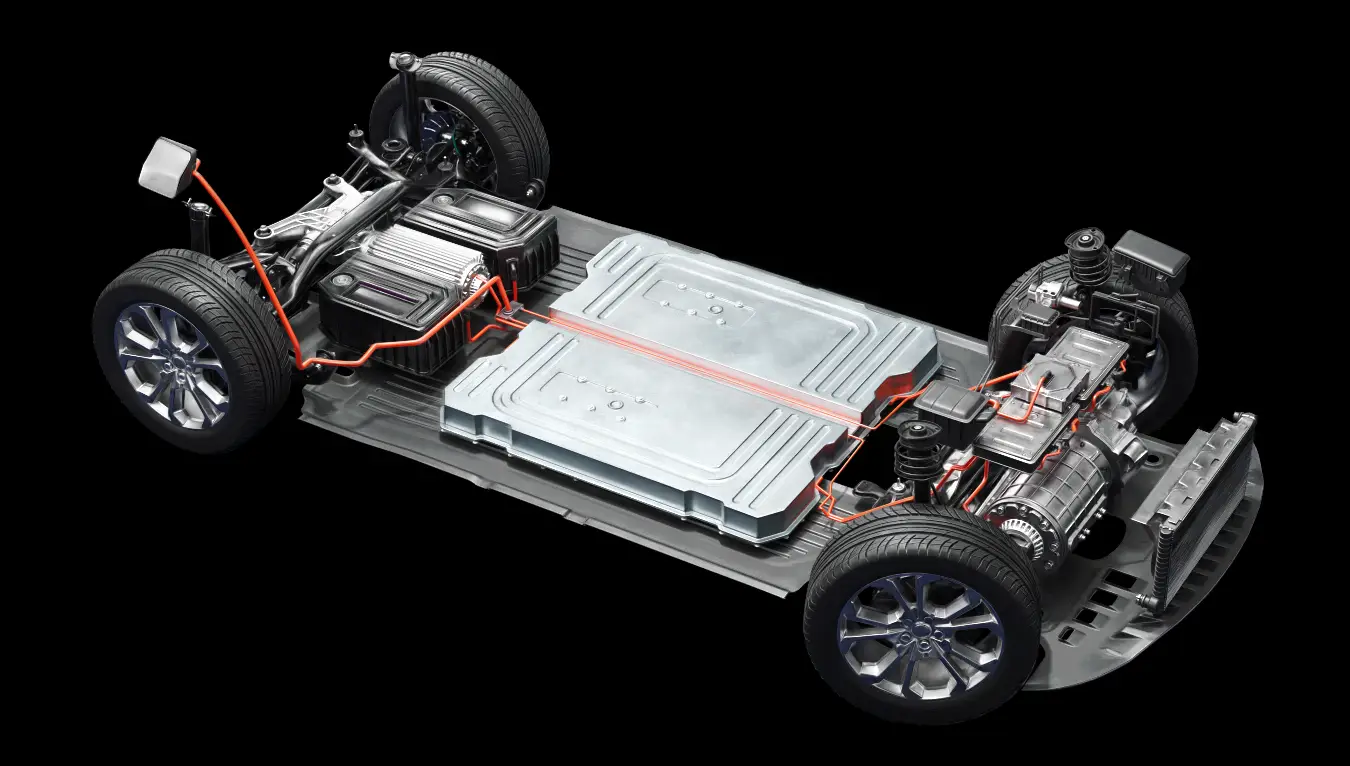
Here is an example for a Gaussian splatting model in the Supersplat viewer with SOGS compression:
Video Tutorial
Workflow Part 1: Camera and rendering
You can start the script in 3ds max with Scripting->run script-> and select the mse file.
To create a 360 gsplat for an object, images from different angles are needed. Similar to photogrammetry ring based camera rigs are possible but it is often better to use the vertices of a spherical object (like a geosphere). Here the cameras have an more equal distance in longitude and latitude. For interiors other camera rigs will work better like cameras animated on a path in different heights – but I have not made any tests with interiors yet.
To create a Geosphere with the button „create geosphere“. Adjust the size/position of the geosphere to make it bigger than the object.
Since the amount of images rendered will correspond with the vertex count of the geosphere, the geosphere’s segement count is important. According to my research 200 to 400 images seems to be a good amount of images, the segment count of the geomsphere is automatically set to 5 resulting in 251 vertices – but you can experimant here.
Create a physical camera with target with the button „create camera“ or use an existing camera.
In the UI’s „camera to vertex animation“ rollout pick the physical camera and the geosphere as geo (they were automatically picked if you used the buttons to create geosphere and camera). Then press „animate camera“ button.
The camera should now be animated. Don’t forget to adjust the focal length of the camera and the target’s position.
For training png’s with alpha are best, as far as I understood 3840 px is the max resolution supported by postshot but 1920px also gives good results.
Workflow Part 2: Export csv
The csv file contains the camera positions, orientation and focal length for every rendered frame. CSV files can be opened with Notepad++ to check for errors. It is very important that the filenames in the csv match the filenames of the renderings – otherwise the csv will not work.
To create the csv adjust the time values in the field „from frame“ and „to frame“ if needed. In the script window add the cameras to the cameralist (you can add more than one camera).
The filename is constructed with:
prefix + cameraname + separator + 4digits for the frame number + extension.
Folder names are not required. Press „export csv“ and save the file in the same folder as your renderings. It seems the filename of the csv itself is not important.
Workflow Part 3: Export ply
The ply file contains the initial point cloud to train the gsplat. The exporter will export all vertices and optionally vertex colors from the picked mesh. Faces and other data is simply ignored. So for simple objects you could even pick the original meshes vertex data, for multiple object or complex objects it is better to create new a sparse point cloud for the objects.
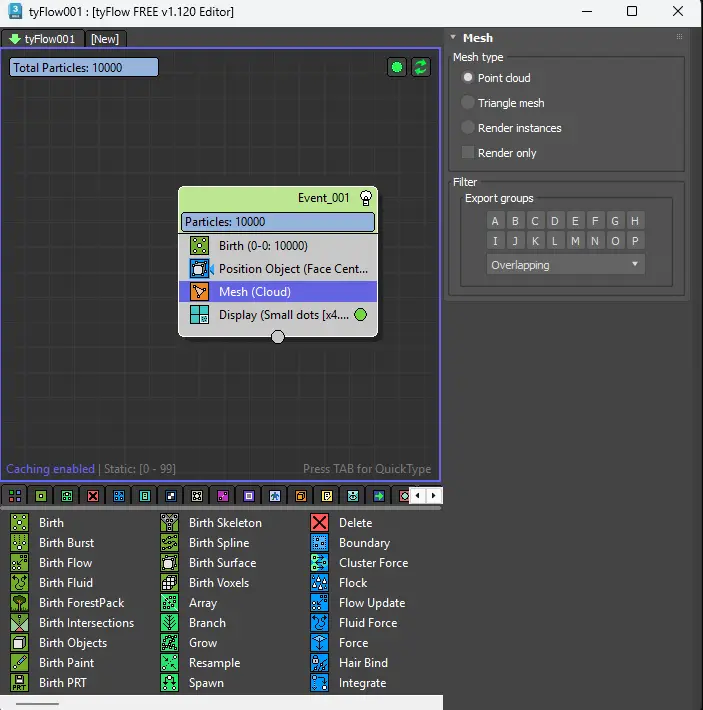
I used the free version of Tyflow to create my point cloud but there probably are more ways to do that.
In Tyflow I just made a birth event with 1-5k particles, created an „object position“ to scatter somewhere on the surface and add a Mesh node with „mesh type“ set to „point cloud“ and disabled the „render only“ option.
The ply file needs vertex positions and vertex colors.
Black vertex colors for the whole mesh seem to not work in postshot in my tests. That’s why the default is set to override vertex colors to grey. If you want to use custom vertex colors you can do that with vertex color channel 1 but I got nice results just with grey vertec colors.
Faces are ignored during export and only needed in 3ds Max if you want to use custom vertex colors.
Now save the ply in the same folder as the renderings and csv.
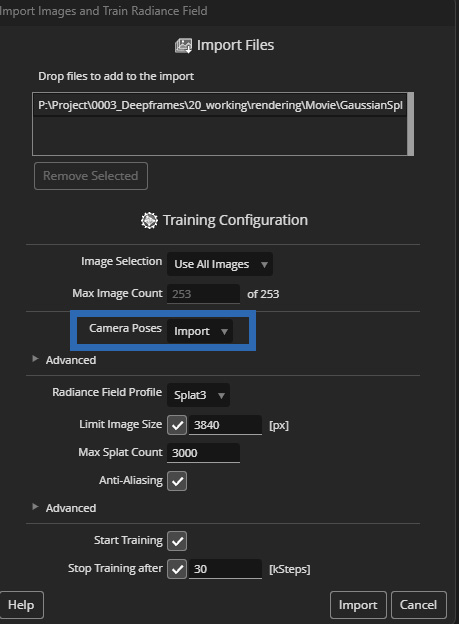
In postshot just drag the whole folder in the window and the „import cameras“ option should be selected automatically.
In my tests the Model profile Splat MCMC has generated much better results for individual objects like the EV and chairs so I would recommend to use that one.
Now start training and see your model buildt up. In postshot watch for any warnings in the Log window on the right side.
Download:
just drop me a line at info@deepframes.com if you have suggestions for improvement
Version history and changelog:
v 0.12 bugfixes including max 26 compatibility
v 0.1. initial beta release
Current Limitations:
- point cloud export is slow with high numbers of points due to a maxscript based implementation
- parenting the camera or the point cloud can lead to unexpected results